While perusing Pinterest one evening (oh my goodness, I could spend hours wasting time finding inspiration on there!) I came across this Fall wreath. I knew right away that I wanted to make one of my own. So I did!

Want one for yourself?
Here is what you need:

~Spanish Moss, large bag you will have extra
~Styrofoam wreath or you could try this cheaper version
~Burlap, 1/3 yard finished strip 55"x 5", you will have to piece it together
~Fake pumpkins or whatever you want to add to your wreath :)
~Glue gun
~Glue sticks for glue gun
~Spray glue I used Elemer's Craft Bond & Aleene's Crystal Clear Tacky Spray
~Brown paper sacks or something else to protect your surface while using spray glue
Sewing machine & thread optional
Be warned that this project is messy!
First, open up that bag of Spanish Moss, loosen it up (it's all compressed together, you will want to break it up so it is easier to apply to your wreath) and then spray a small section of your wreath with spray glue. Grab your loosened up Spanish Moss and press it down on top of your wreath.

Using spray glue, add the Spanish Moss in small sections all the way around the wreath until the top is covered. Then add the Spanish Moss to the sides of the wreath, inside and out (you could do this when you do the top).
It should look like this when you are done...
 |
| Front view |
 |
| Back view |
I did the back of my wreath next but you don't have to
(noone will see it once it is hanging).
(noone will see it once it is hanging).
Now grab those cute little pumpkins (or other Fall decor) and figure out where you want them placed on your Spanish Moss covered wreath.

When you are happy with your placement grab your glue gun and put some glue on the necessary spots.

Your wreath should look similar to this...

Now is the time to add more Spanish Moss to any bare spots you may have.
 |
| See where you can see the styrofoam...add more Spanish Moss if you can see foam on your wreath. You are almost done! Cut the width (selvedge to selvedge) of your burlap into 5" strips. 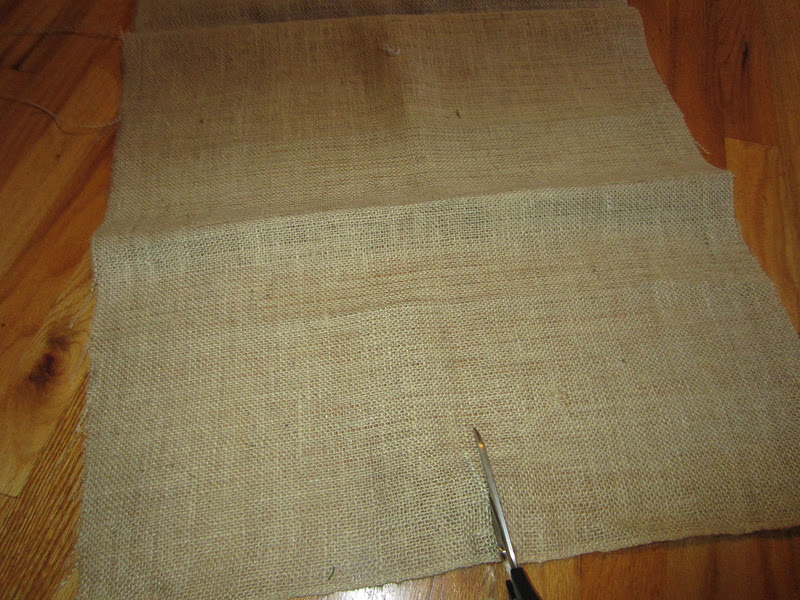 I sewed 2~5" strips together which was too long for me (if you don't have a sewing machine or don't feel like sewing you could use your glue gun to keep the 2 pieces together) I folded my long strip in half lengthwise, at the seam, and cut (folded at the seam) to 27.5" inches. This gave me 1 strip measuring 5"x 55" with the seam in the center. Grab your wreath and put your burlap strip through the center (with seam at the under part of the top of the wreath, that way you can't see it). Make a bow at the top, hang, and now you have your own Fall wreath...yay you!!! Hope you enjoy your new Fall Wreath as much as I do mine! Please feel free to ask any questions you may have. Linking up to : 

 Made by you Monday @ Skip to my Lou Smiles~Beth |


2 comments:
Beth that wreath looks amazing! You did a wonderful job. the tutorial was great too-thank you!
I have posted a few of my favourite pins on my blog so if you have 5 Minutes to spare please pop by! I would be honoured if you could also link up your post to my weekly Pinning and Singing Pinterest Linky Party as this post is just fabulous!
Best wishes and happy pinning!
Natasha @ 5 Minutes Just for Me
LOVE, LOVE, LOVE this, Beth! I'll have to drive by your house today to see it for myself (so please don't call the cops on the vehicle stalking your house;) ). Keep up your great work!
I'm about ready to create a support group for us poor Pinterest junkies...I adore that site:)
Post a Comment